
Quickstart
Learn the ropes of Miso without having to write any code.
Introduction
Let's test out building a basic Miso recipe, "You May Also Like" recommendations, using demo data. All recipes follow the same basic steps:
- Load your data into Miso
- Select and train a Miso engine on top of your data to optimize your key conversions
- Test your engine's performance
- Make API calls to your engine
In this guide, you'll complete a lightweight version of these steps using sample data in your Playground environment. You'll work almost entirely within Dojo, your web dashboard for Miso. This guide should only take about 20 minutes to complete.
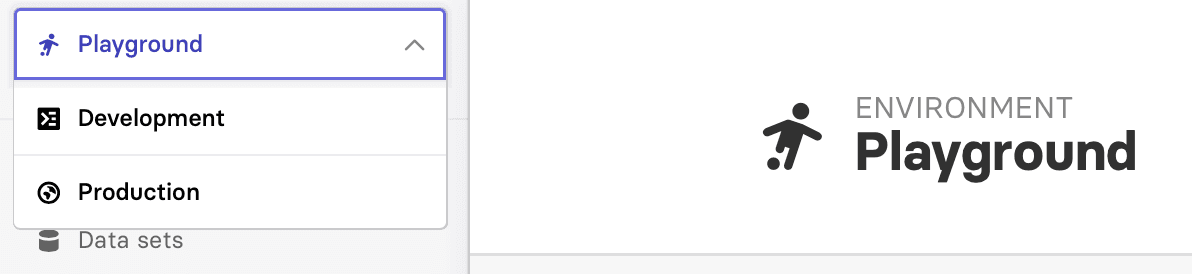
Ready? Head to Dojo and log in. Then, make sure that your Playground environment is selected in the upper right-hand corner. If this is your first time using the Miso Playground, your screen should look like this:
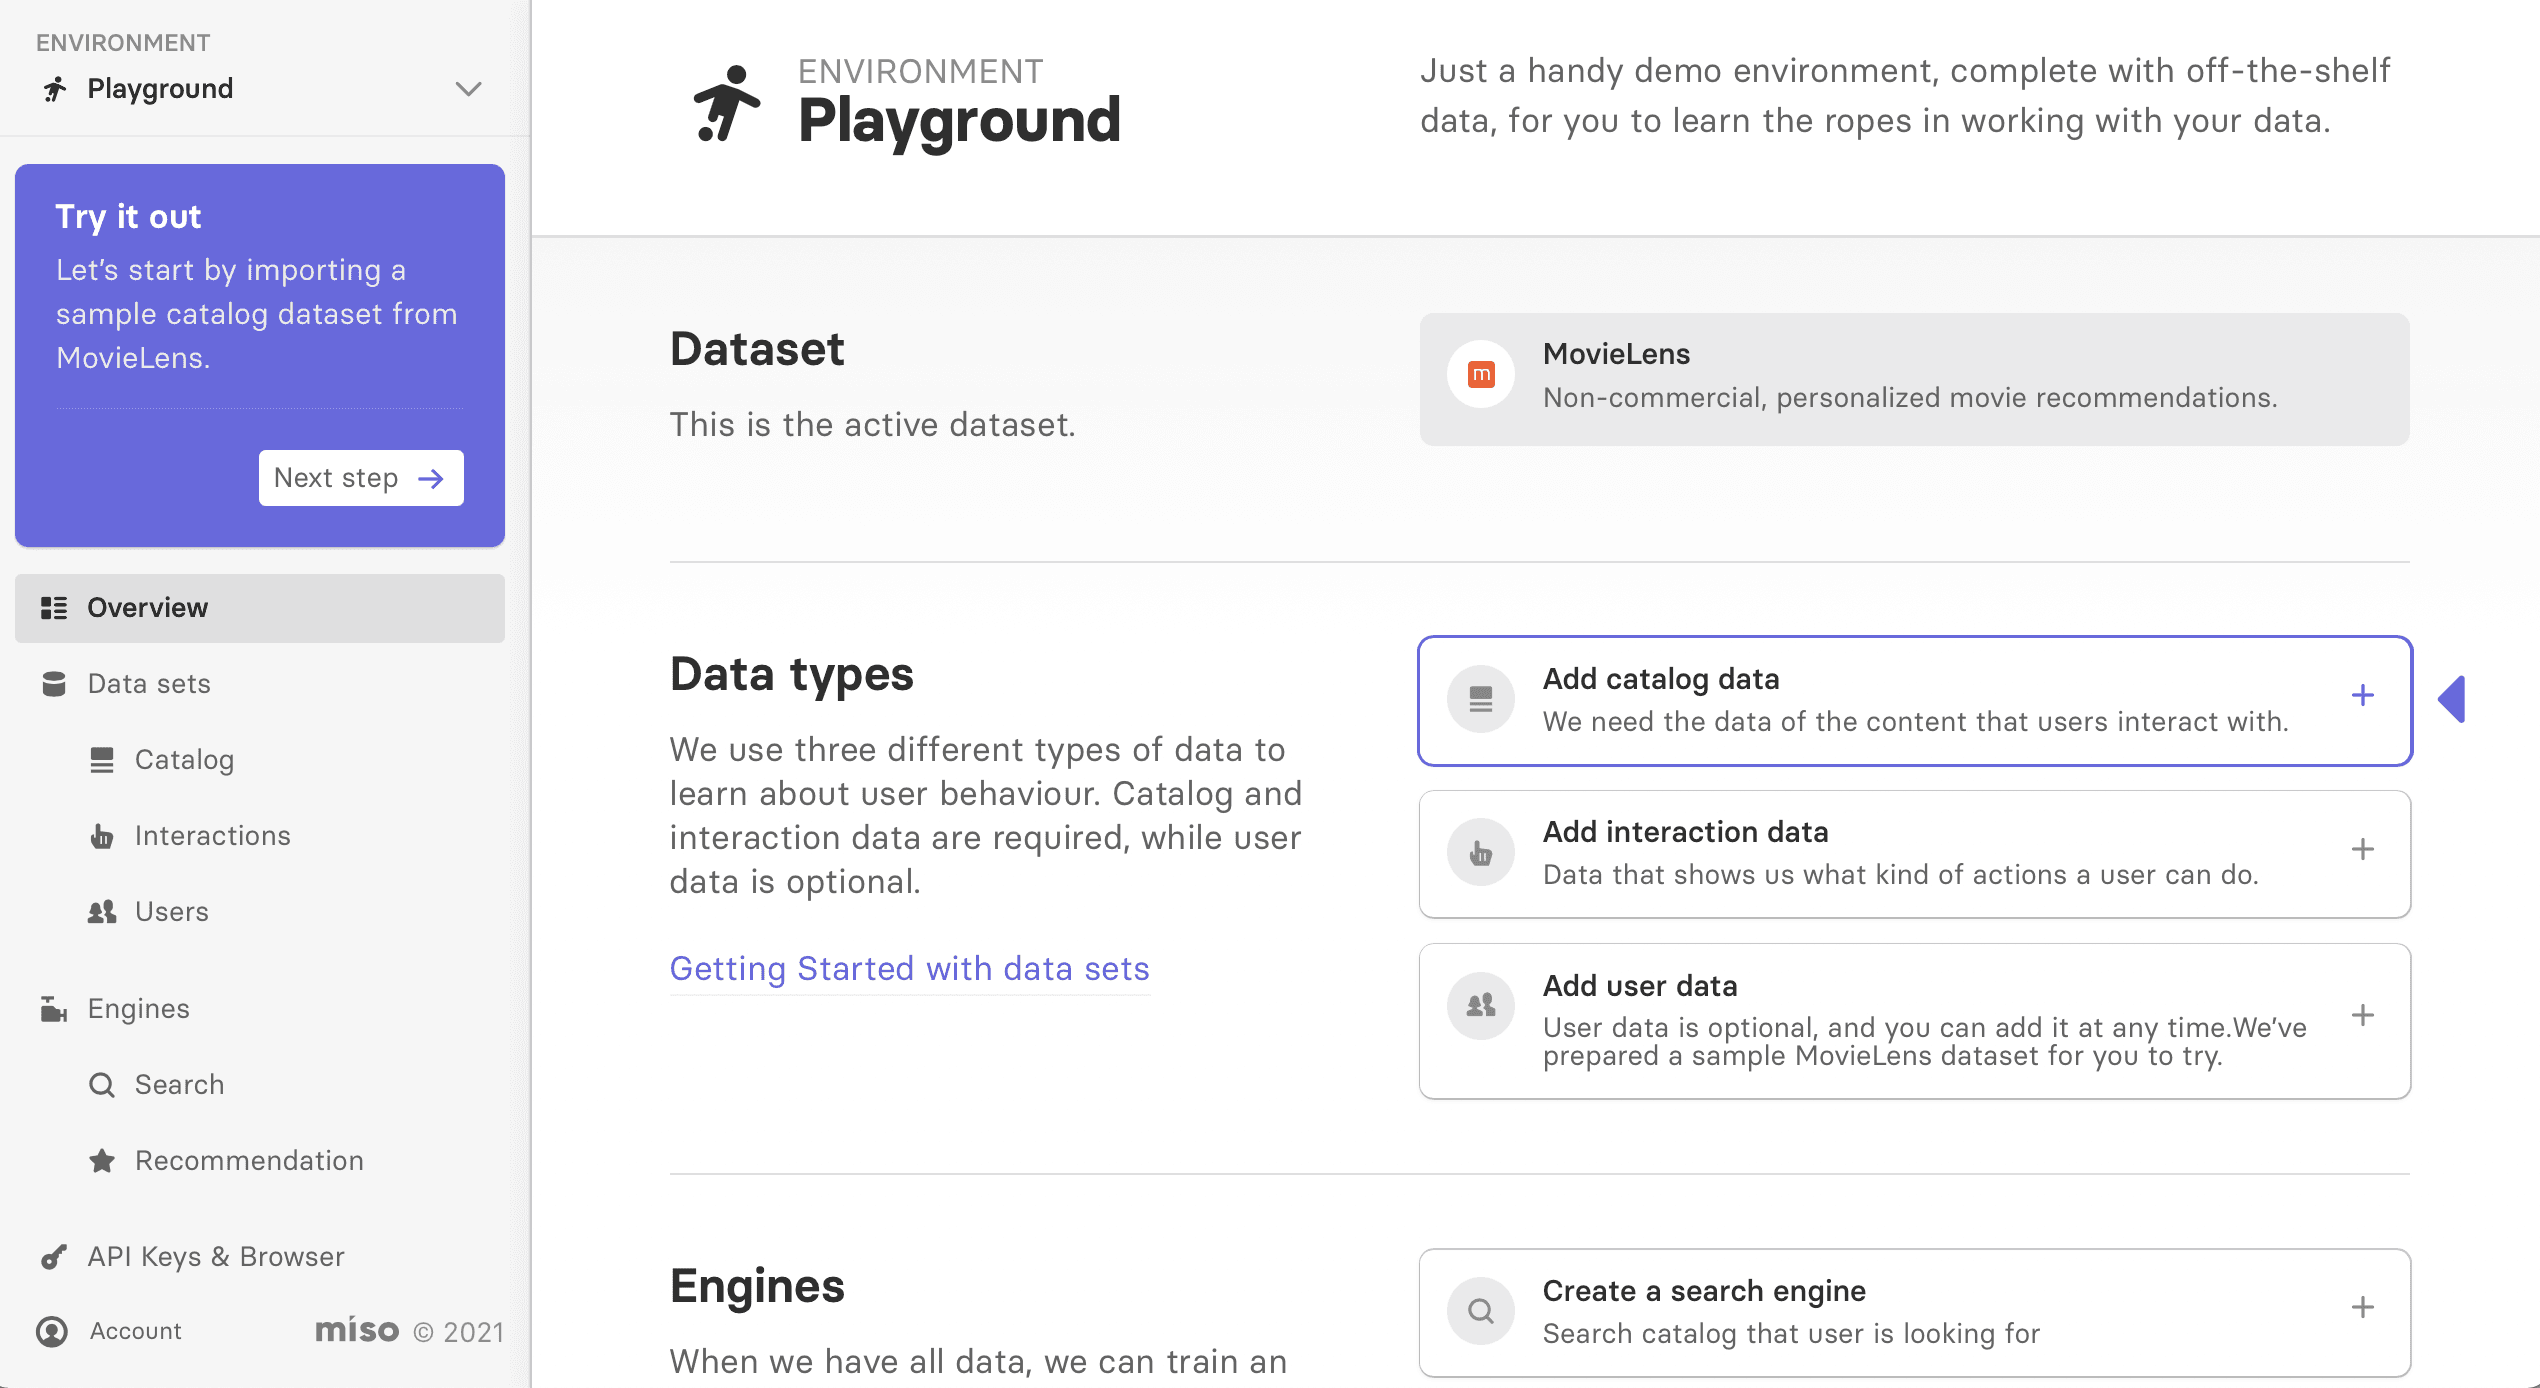
The first time you complete the Quickstart, Dojo is set up to help you follow the steps. If you ever get lost, look for the purple help box at the top of the lefthand menu bar and the purple arrow on the screen.
1. Load data
Miso requires two types of data:
- Your catalog of products and/or content
- Your clickstream interaction logs
You'll practice uploading sample catalog and interaction data in the Playground.
Miso is built for fully anonymous personalization and does not need any user data — all we need is an ID associated with each interaction. However, if desired, you can upload user data for your site. This can help improve performance at cold-start, when Miso doesn't have any interaction data for a user yet. You'll find a sample user dataset in Playground so you can practice this step as well.
Add catalog data
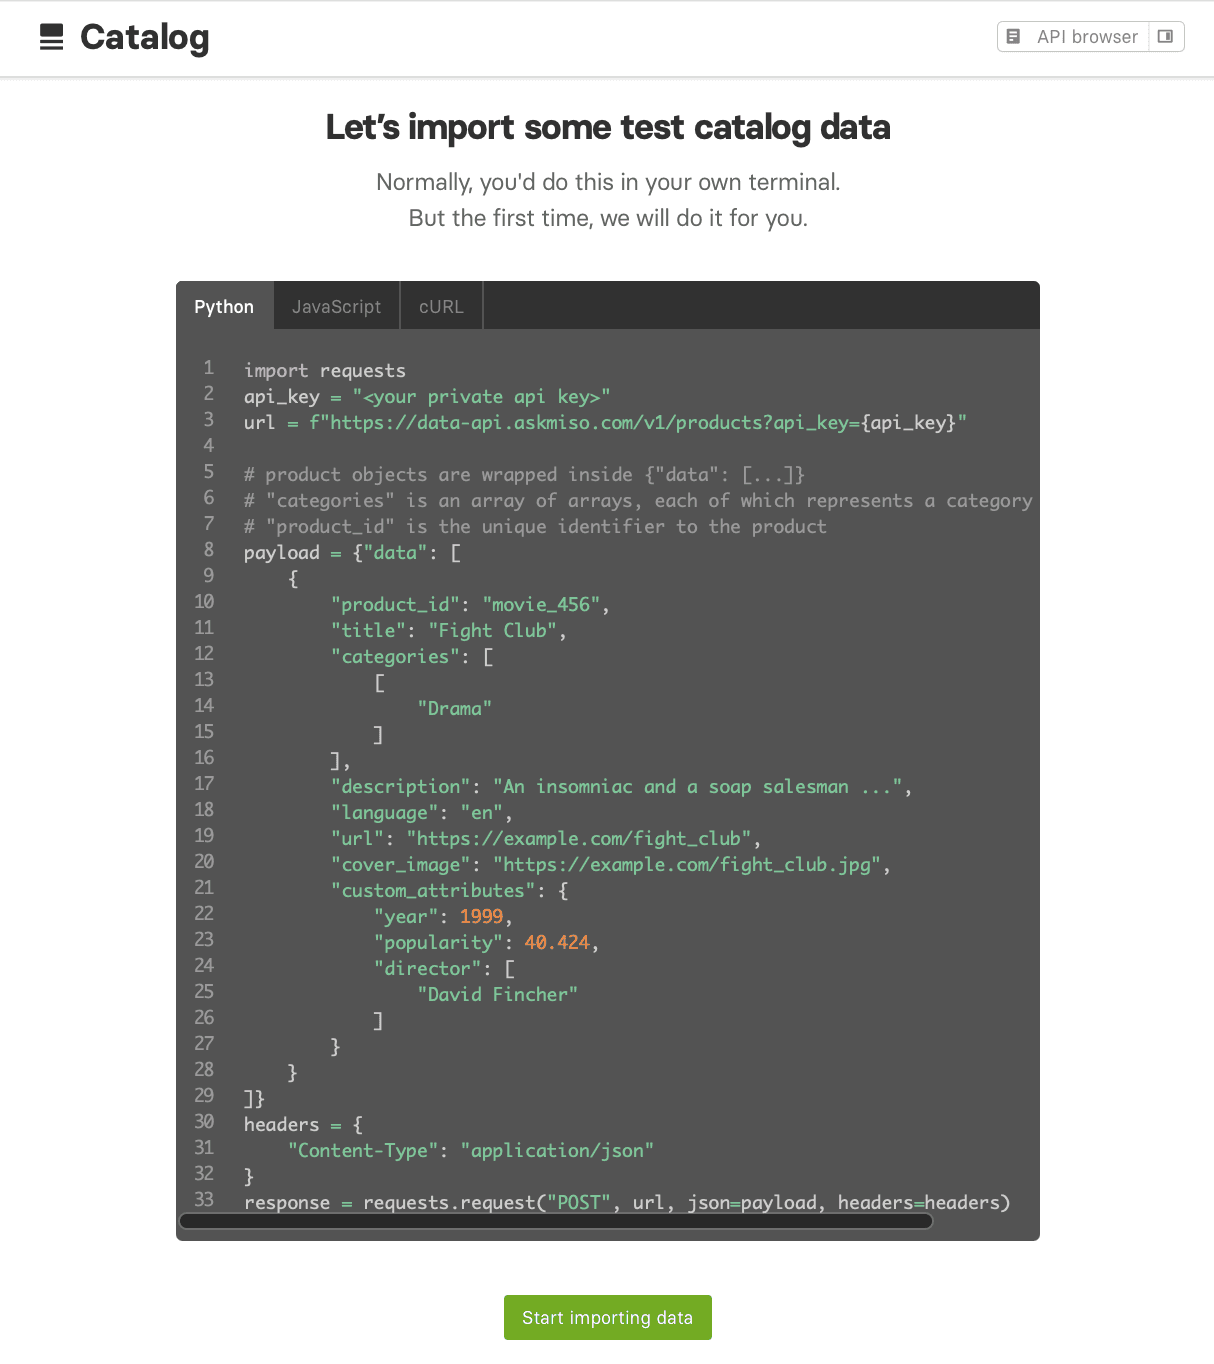
To get started, click on the Add catalog data step in the Playground Environment in Dojo.

Next, you will see example code that POSTs to Miso's Data APIs. When you build a recipe, you will use these APIs to upload and stream in your own data, but for now, you can click the Start importing data button.
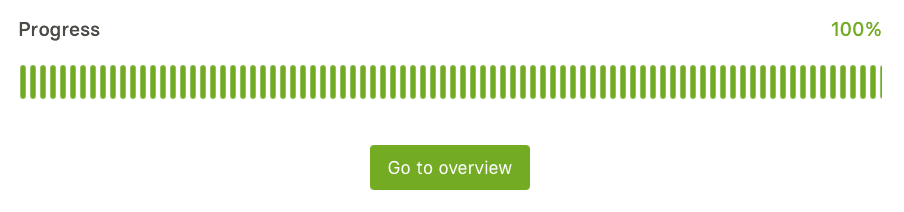
As the data is uploading, you'll see a progress bar. It shouldn't take more than a minute to import the sample dataset. Next, click Go to overview.
Go to the catalog data overview
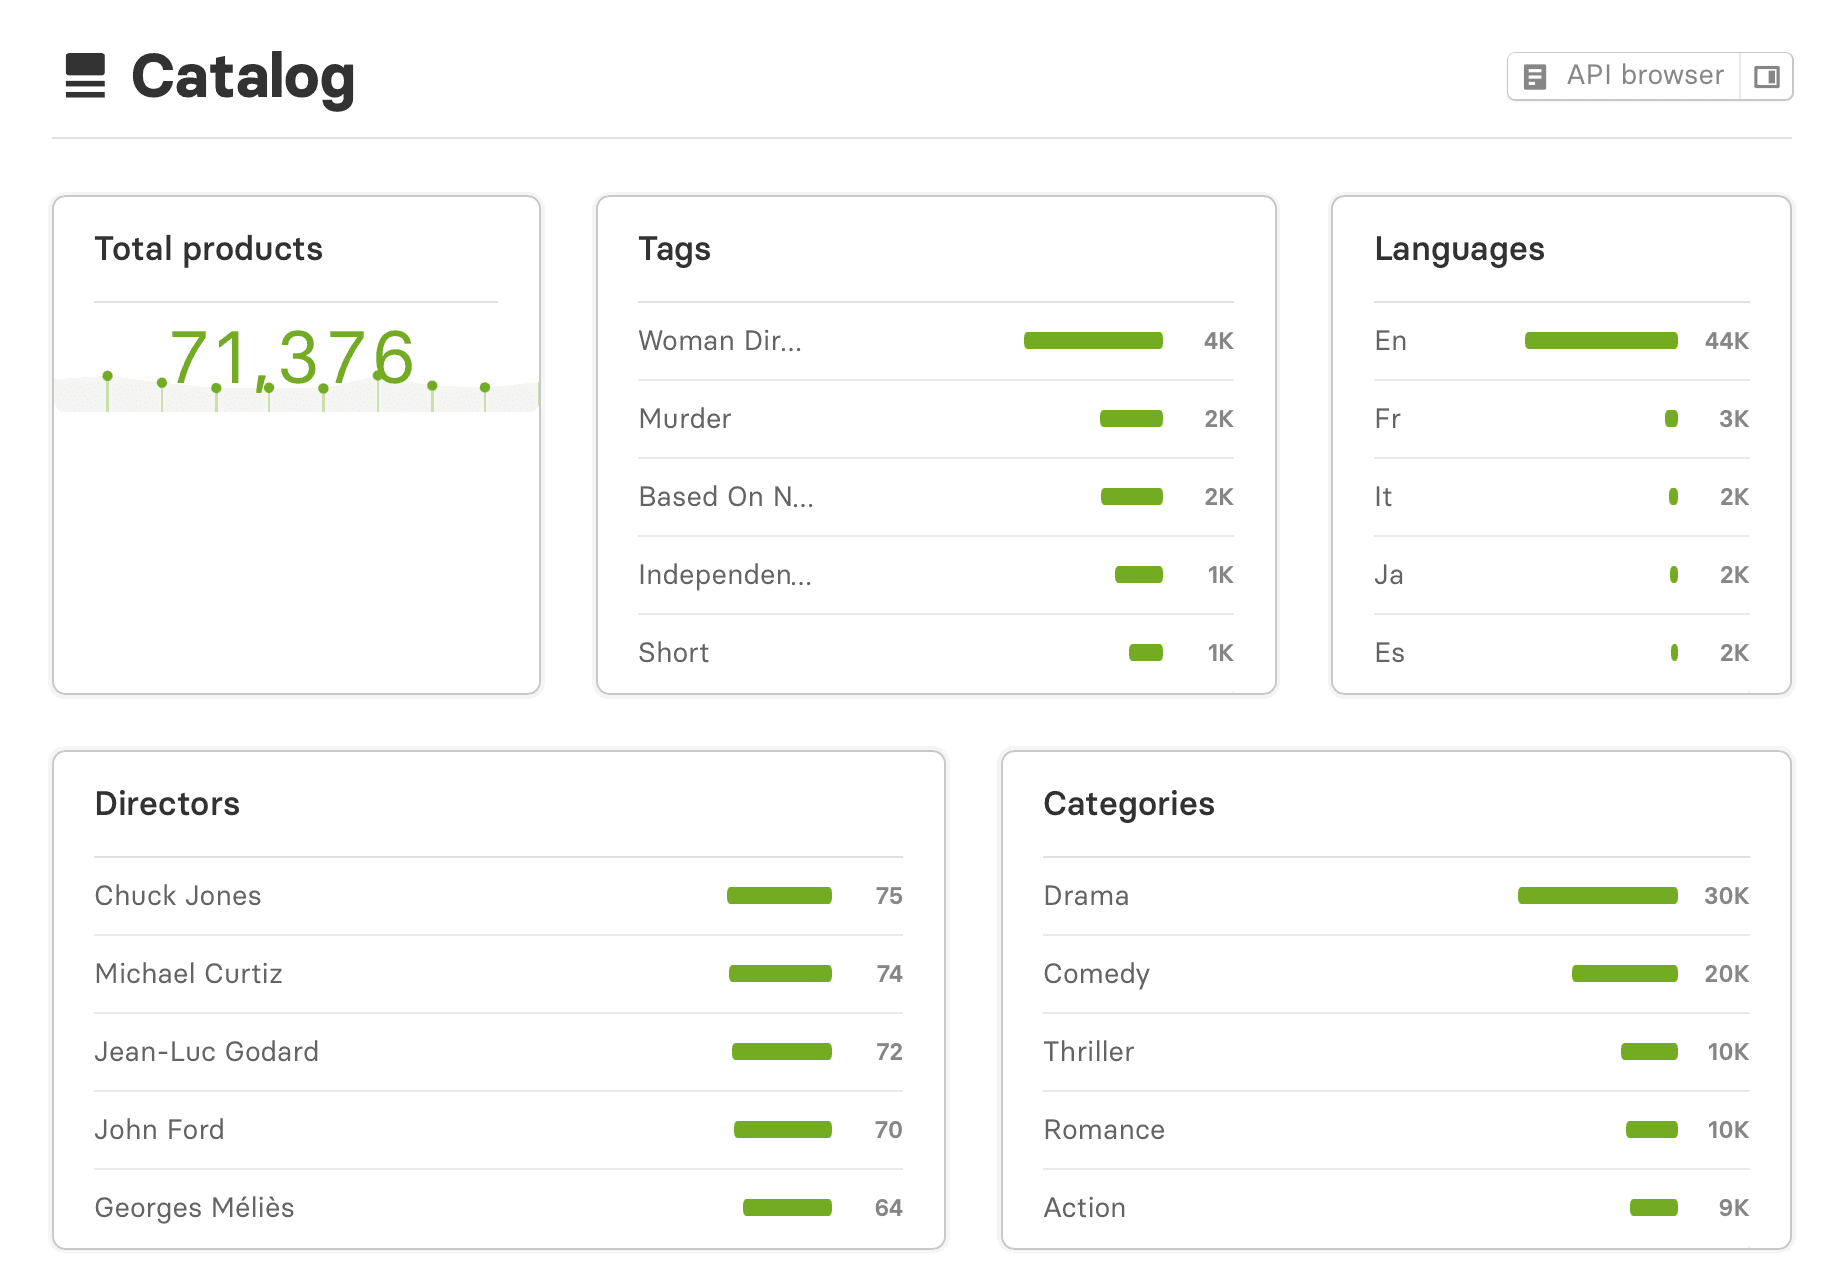
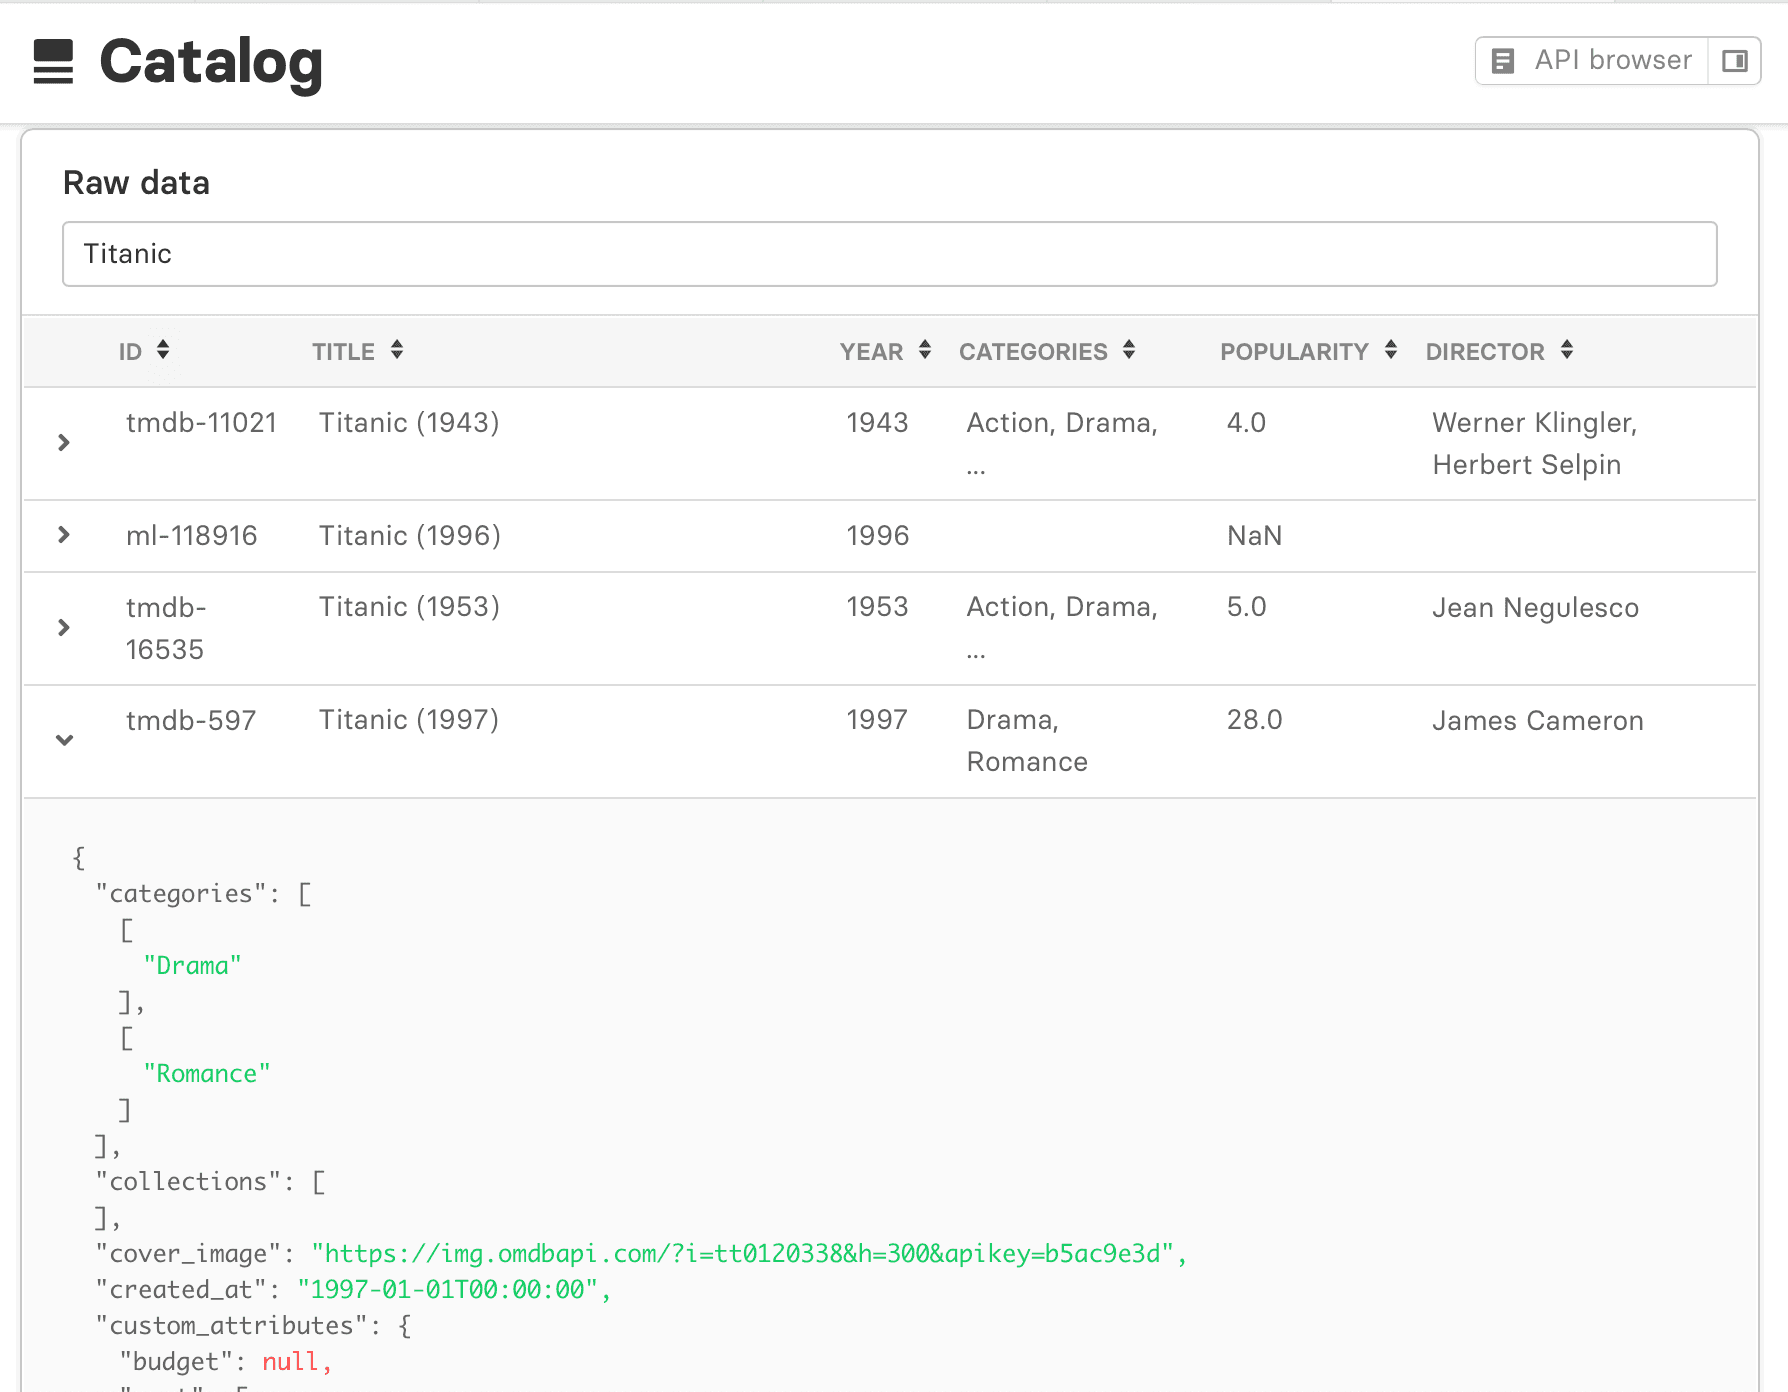
The overview page for data shows several dashboards you can use to inspect what's been uploaded to Miso. At the top of the page, you'll find an overview and a breakdown of some of the key metadata that Miso detected in the dataset.
Scroll down to view the structured JSON data uploaded to Miso. You can expand any row in the table to see more details, and even search the dataset, as we've done below.
Repeat these steps for interactions and user data
Next, load the remaining two datasets: Interactions and Users. You can always use the purple help box in the upper left-hand corner of the screen to keep advancing to the next step.
2. Set up engines
The next step is to set up your Miso search and recommendation engines. Engines are machine learning models that are trained on your data to return real-time personalized results. These results will optimize for a certain conversion you want to maximize on your site. When you build a Miso Recipe, you pass input to your engines and access their output through Miso's Engine APIs.
Setting up your engines is done in Dojo, not programmatically. We'll start with the search engine:
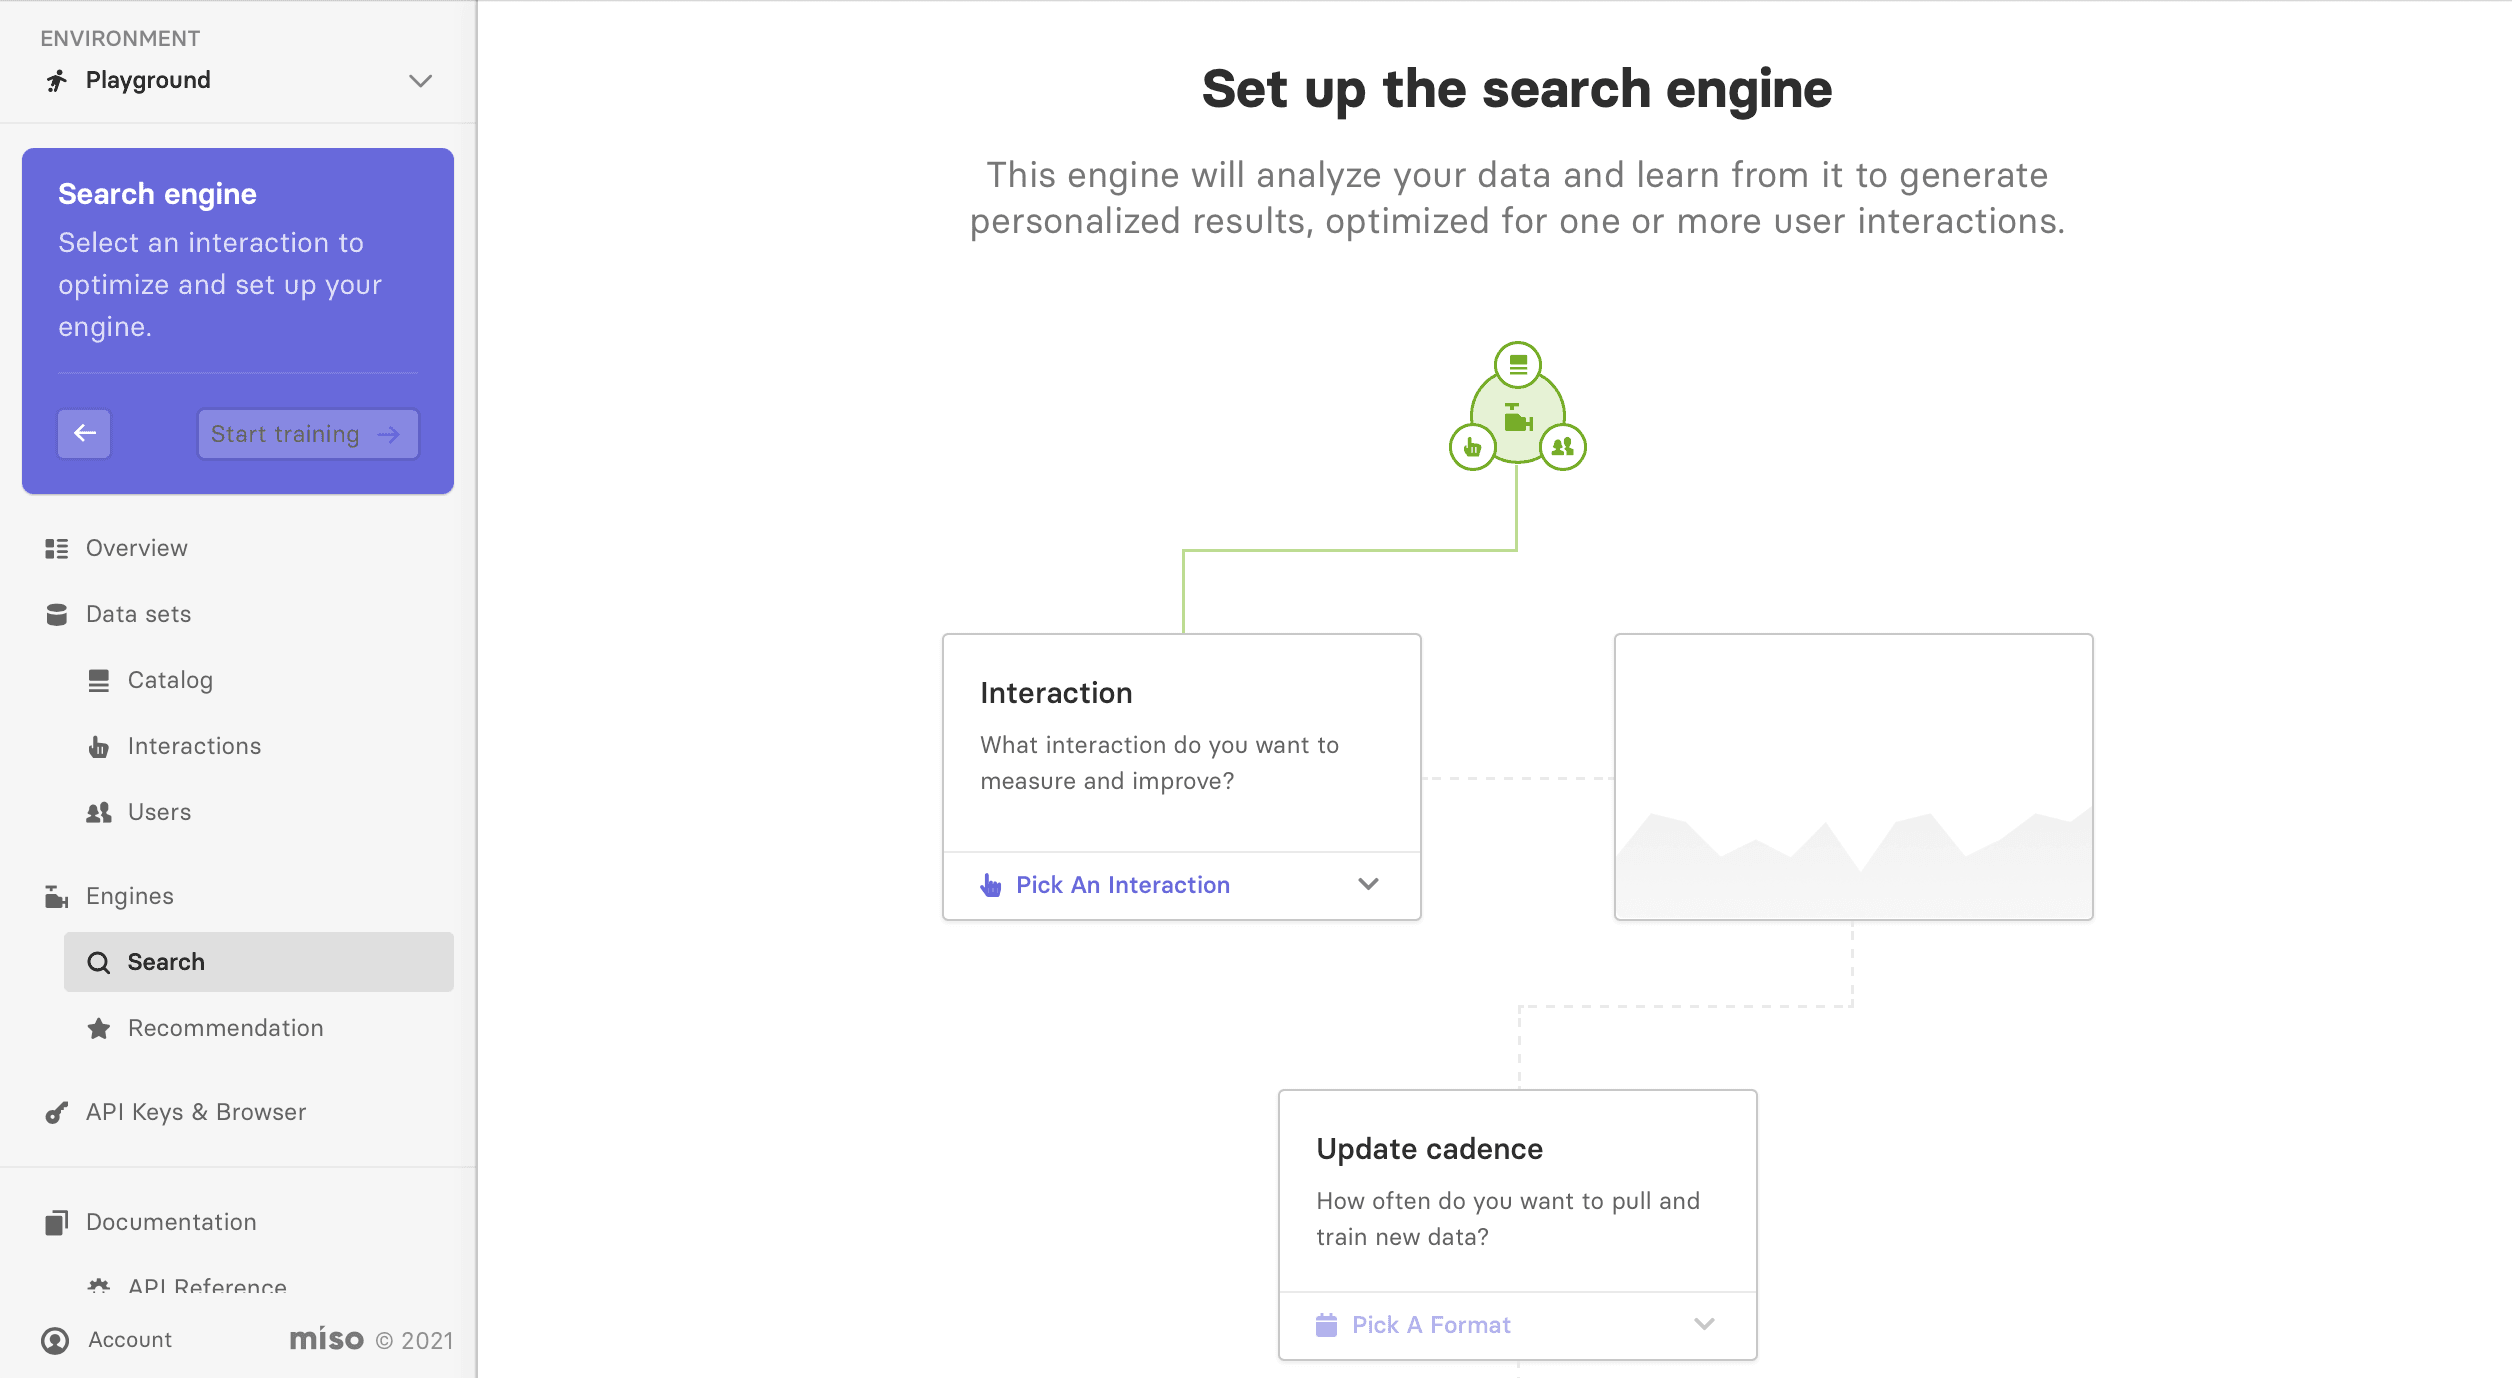
To set up the engine, first choose the interactions that you want the engine to optimize for. When you click Pick an Interaction, you will see a list of the interaction types. These are based on the interactions you uploaded earlier in your Interactions dataset. For each interaction you select here, your engine will use Miso's reinforcement learning and core personalization algorithms to return results in real-time that are optimized to generate more of those interactions from each individual user. By optimizing for high-value interactions on your site, like checkouts or views, you can use Miso to drive conversions and revenue.
Next, select your update cadence. When you click Pick a Format, you will see a list of possible schedules for training your engine. Miso will automatically retrain the engine on the schedule that you choose. More frequent retraining helps prevent model drift when you have a lot of data coming in and want to keep refreshing your engine.
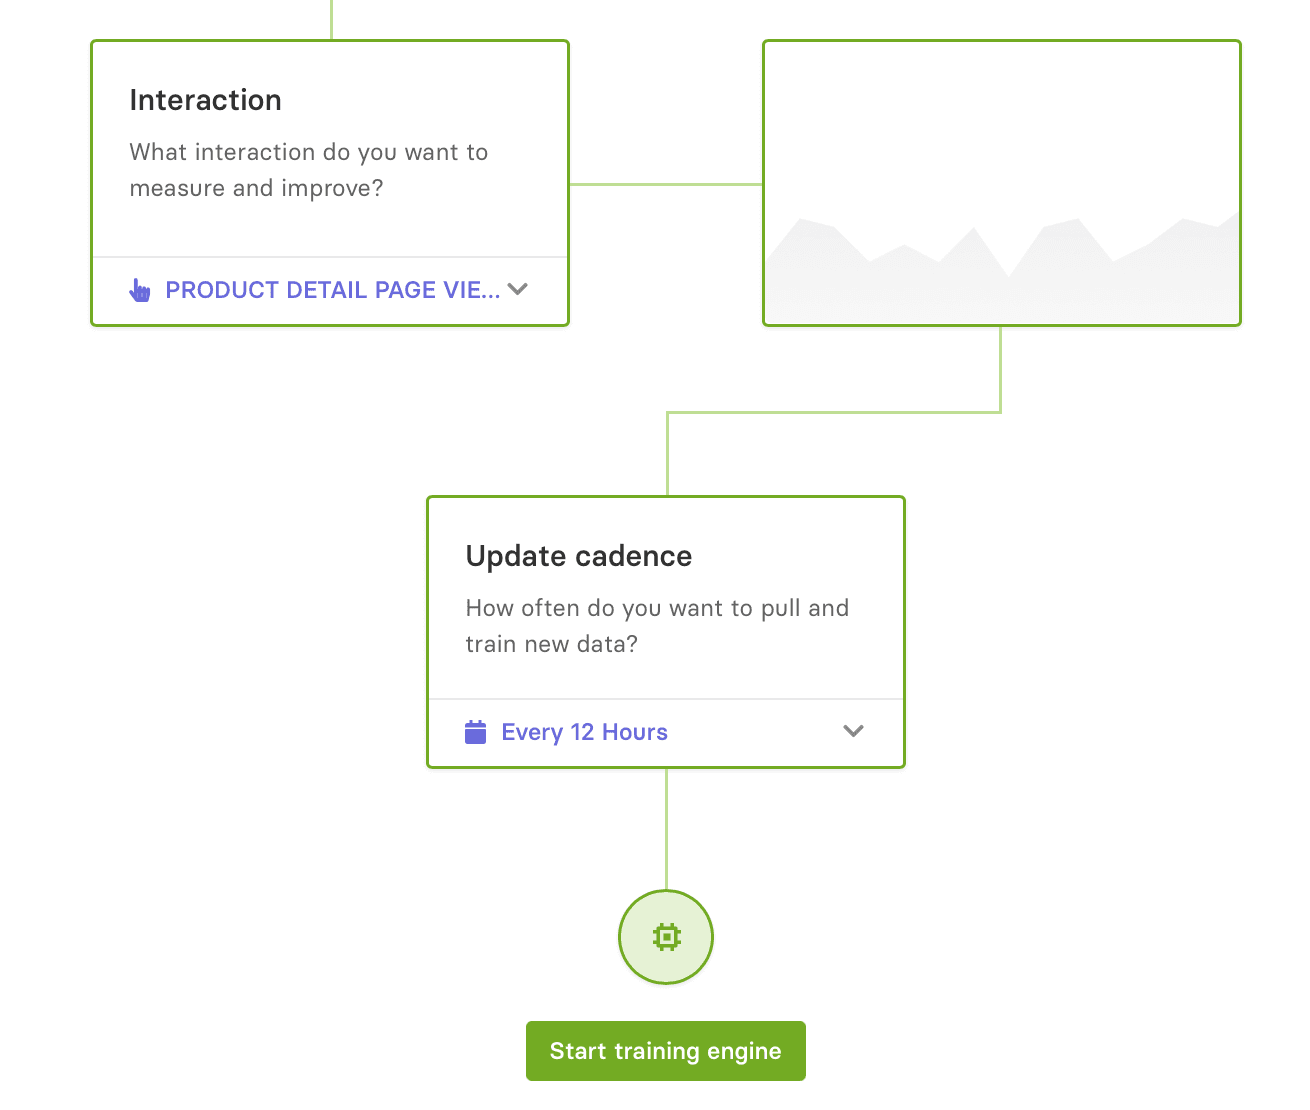
Once you've made your selections, click Start training engine.
You'll see a page indicating the progress of your engine training. Once the training is complete, click Go to Sandbox to preview the engine results.
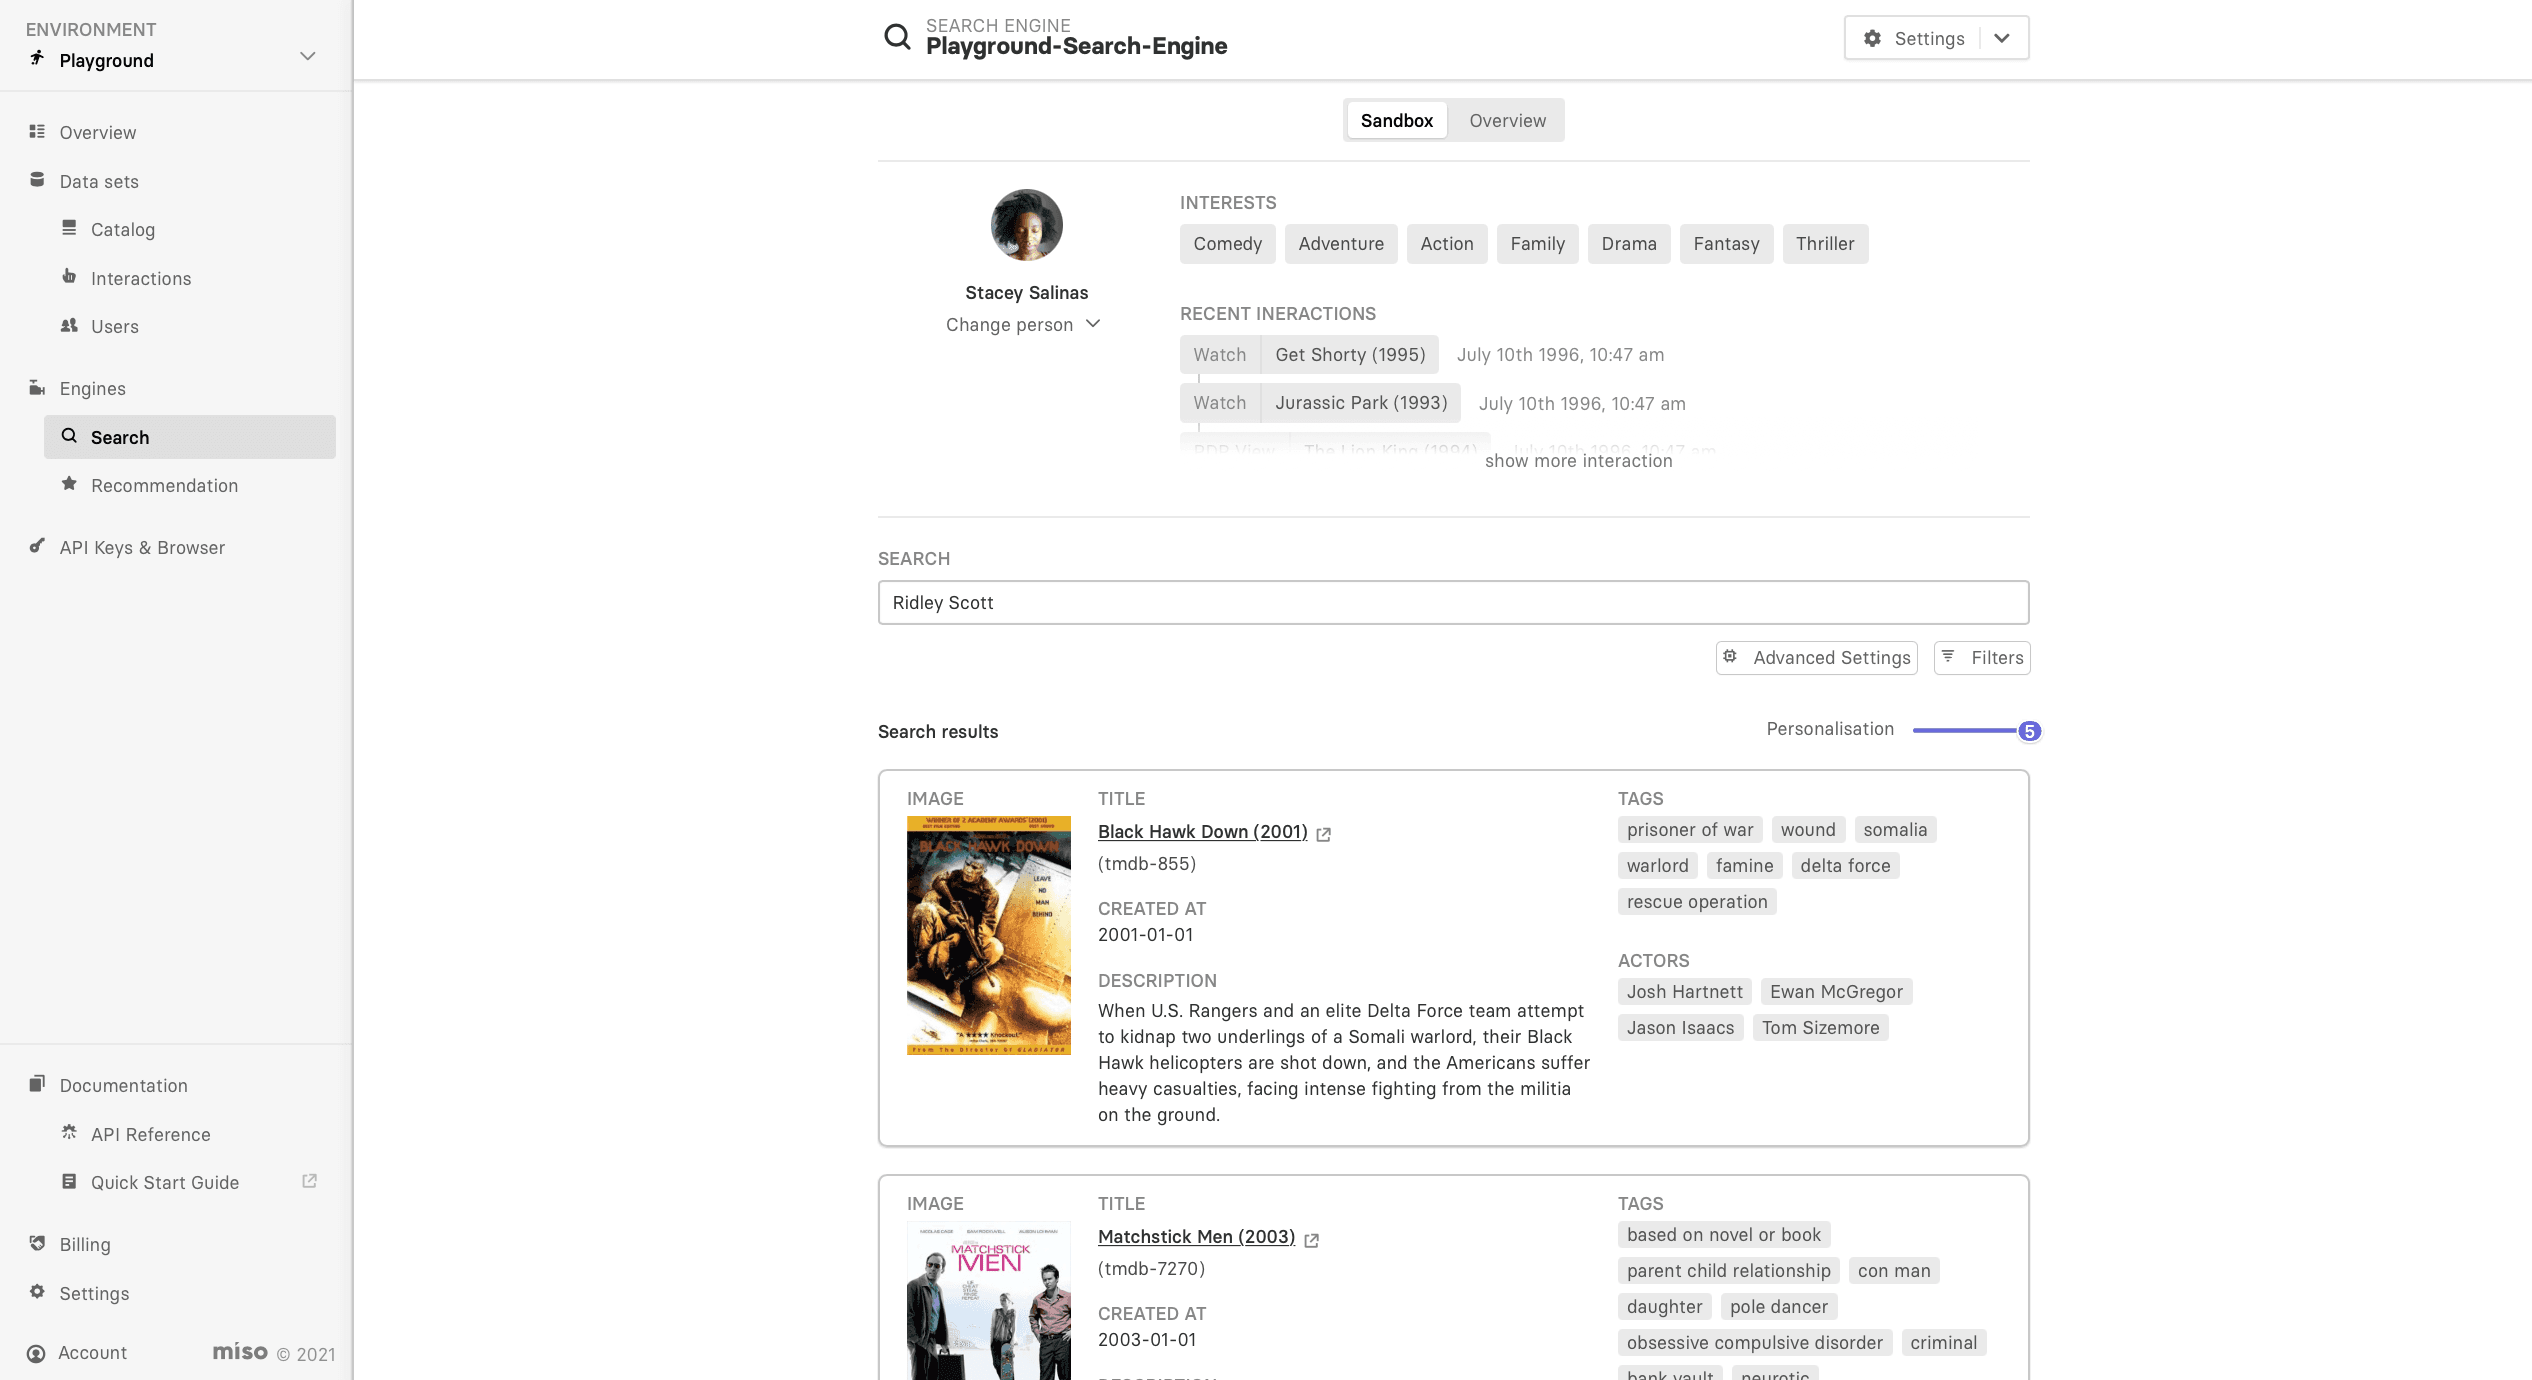
Engine sandbox
Your engine sandbox is a way to test out your engine results without writing any code. Every environment in Dojo has a sandbox for doing basic validation. Note that when you call Miso's APIs programmatically, you'll have many more options for filtering and optimizing your results.
In the sandbox, you can preview what your engine returns for different users and different inputs. Try a few queries with your newly-trained search engine. Read more about how to use the sandbox.
Repeat these steps for your recommendation engine
Next, set up your recommendation engine. You can always use the purple help box in the upper left-hand corner of the screen to keep advancing to the next step.
3. Make your first API calls
Now that your engine is set up and trained on your data, you're ready to make API calls. For this last step, it helps if you can write some basic scripts from the command line.
Find your API keys
In Dojo, make sure the Playground environment is selected in the upper left-hand corner of the screen.
Then, go to the API Keys & Browser page. You will see your Playground API keys.
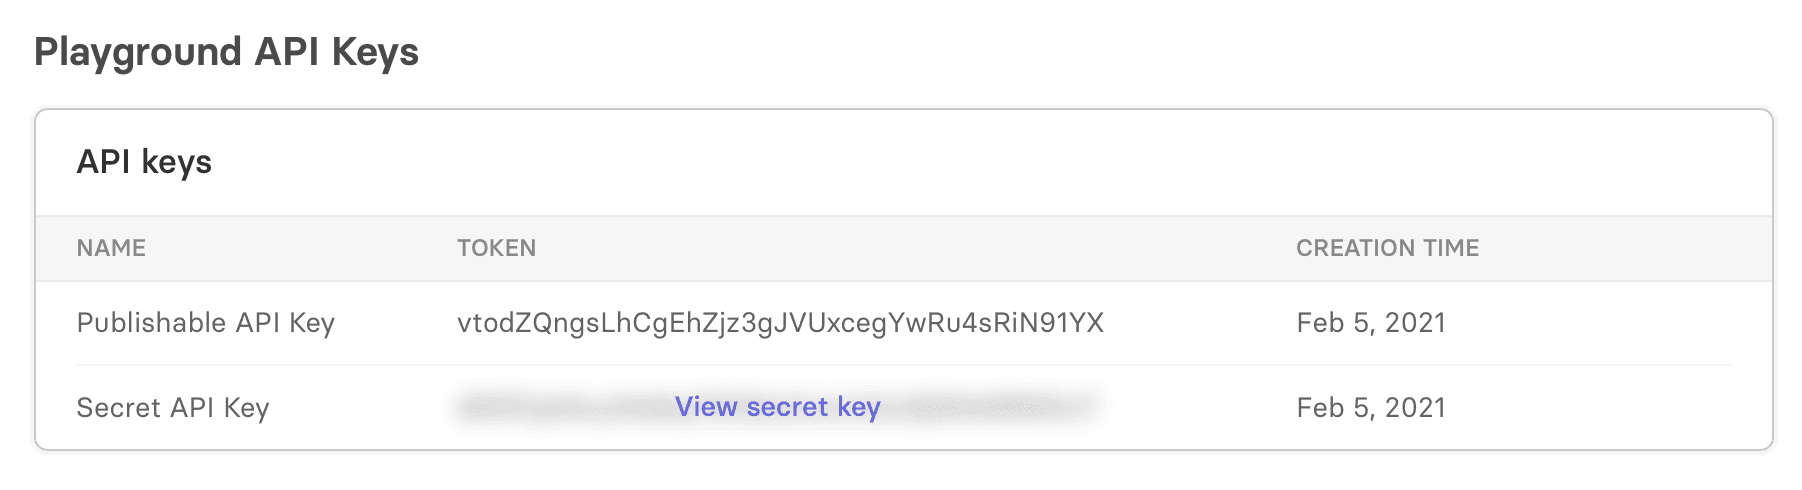
Every Miso environment has two keys: a publishable key and a secret key. The publishable key can be used to send interaction data from your front-end code, while the secret key should only be used by your back-end and never shared publicly. You can use either key to test out API calls from the command line.
Let's try a sample API call, the same type of call you would use in Miso's You May Also Like Recipe. Use this code as a starting point, making sure that you're providing an API key from your Playground environment:
Example API Call
POST /v1/recommendation/product_to_products?api_key=<API_KEY> HTTP/1.1
{
    "user_id": "ml-8960", // The MovieLens id for "Roger Boyd"
    "product_id": "tmdb-824", // The MovieLens id for "Moulin Rouge! (2001)"
    "fl": ["title"] // Tells Miso to return recommended movie titles only
}
Example JSON Response
{
    "message": "success",
    "data": {
        "took": 56,
        "miso_id": "f98b1904-ddce-11eb-be53-fa1729b23183",
        "products": [
            {
                "product_id": "tmdb-1574",
                "title": "Chicago (2002)",
                ... , //plus more Miso scoring information
            },
            {
                "product_id": "tmdb-392",
                "title": "Chocolat (2000)",
                ... ,
            },
            {
                "product_id": "tmdb-634",
                "title": "Bridget Jones's Diary (2001)",
                ... ,
            },
            ...
        ]
    }
}
Try modifying the API parameters to get more practice with Miso's capabilities.
Next steps
Congratulations, you've completed the Quickstart! Here are some steps we recommend taking next:
- Explore recipes. Browse all the integrations you can build with simple API calls using Miso's recipes.
- Keep reading. If you'd like to learn all the ins and outs of how Miso works, you can jump into our Deep Dives.